Top tips – repairing a puncture
Knowing how to fix a puncture is an important skill for anyone who cycles. We have some top tips to help you get to grips with the basics.
March 16, 2023
What you will need
- Spare inner tubes
- Tyre levers
- A bike pump
- Puncture repair kit
- Allen key or spanner for removing the wheel if it isn’t quick release
- Gloves
Tips from our instructors
We went to experts, our fantastic Bikeability instructors, to find out their pointers for dealing with punctures.
Our first top tip is to always have a spare inner tube or two with you!
“I carry a spare tube and sort the punctured one when I get home!” Rob, Bikeability instructor
It’s a lot quicker to put a new inner tube in rather than trying to find and repair any holes, especially if the weather is bad or it’s dark.
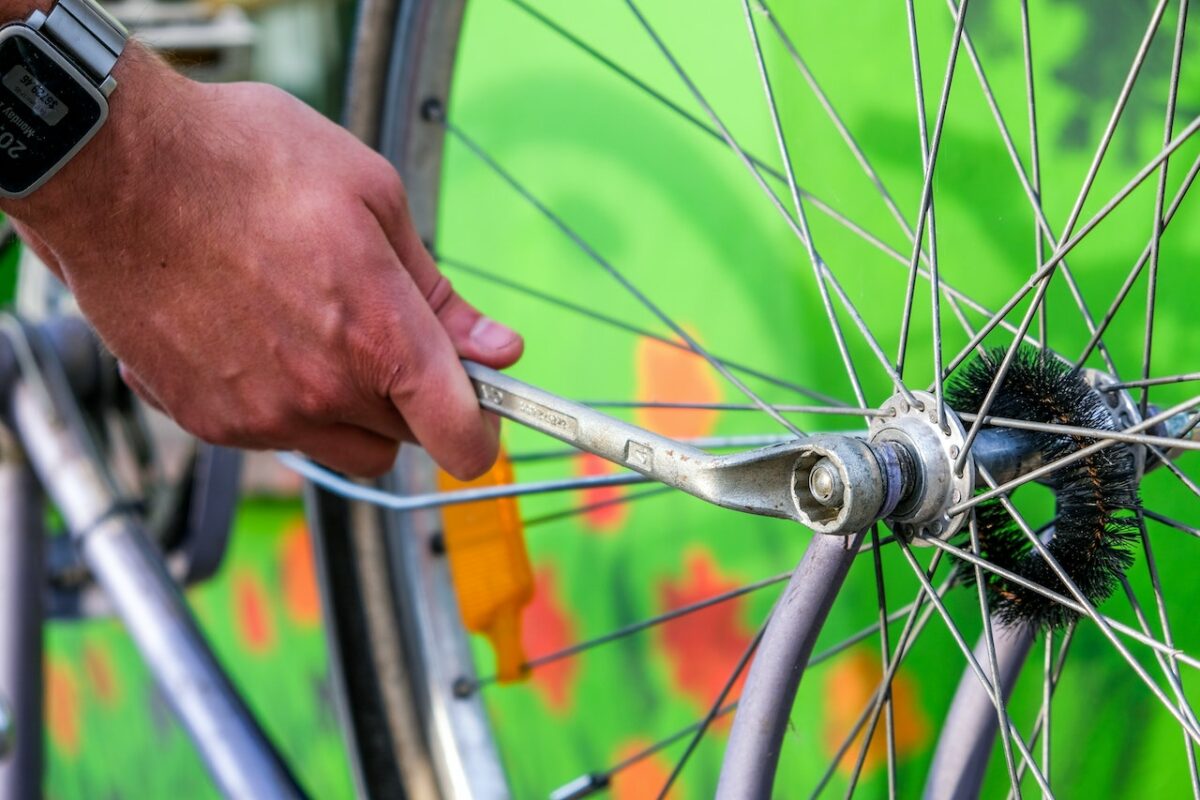
Remove your wheel
This can be difficult, especially if you haven’t done it very often. The more you do it, the easier it will be.
“Practice, practice, practice!” Penny, Bikeability instructor
If you have quick release wheels, undo the quick release on wheel with the flat tyre. If you have rim breaks, you will also need to undo the quick release for these as well.
If you don’t have quick release wheels, you will need your allen key or a spanner to undo them.
Be careful when taking the wheel off – if you are taking the front wheel off, be gentle when you put the front forks down as they can be damaged easily.
“If it’s a rear wheel puncture put the chain on the big chainring and smallest cog before taking the wheel off of the bike.” Steve, Bikeability instructor
As Steve says, if you are taking the back wheel off, make sure the chain is in the right place – you should be on the hardest gear (the smallest cog).
Pull the derailleur back gently to release it from the chain and move the wheel away from the cycle carefully.
Remove the tyre
Once your wheel is off, you need to take the tyre off. First, deflate it completely to make sure all the air is out – this with make it easier to get the tube out.
You will need your tyre levers. Start on the opposite side from the valve and put the curved or angled end of the lever under the bead of the tyre. The bead is the thicker bit of the tyre that sits inside the wheel. Pushing the lever in should start to lift the tyre off the rim of the wheel.
Most tyre levers are designed with hooks at one end – you can use these to hook them under a spoke and hold the lever in place, making it a lot easier for you to get the tyre off.
Insert a second tyre lever under the bead of the tyre and gently run the lever around the wheel so it pops one side of the tyre out of the wheel rim. If your tyre is tight, you might need a third lever to get this to work.
Once this is done, you can get the deflated inner tube out.
Find the problem
Even if you are putting a new inner tube in, you still need to find what caused the puncture in the first place.
“Make sure you check the tyre before putting back on the wheel to make sure there is not something still in the tyre that will mean you will puncture again!” Jon, Bikeability instructor
Find the puncture by pumping the inner tube up and squeezing it to see or hear where the air is coming out. If you are at home, you can put the tube in water and see where the bubbles are coming out. If you’re still out and about, put the tube near your face and run it around slowly, until you feel the air coming out. The skin on your face is sensitive so you will feel the air leaking out more easily.
Once you have found the puncture, work out where it was when the tube was in the tyre – you can do this by checking where the hole is in relation to the valve. Check in the tyre to see if what made the punctured is still in the tyre by running your hand around the inside of the tyre. Be careful not to cut your fingers. You should also check the outside of the tyre – sometimes the piece of glass or metal is sticking out on both sides. Remember there could be more than one puncture, so make sure you have found all of them.
“Carry a safety pin in your puncture kit to help poke thorns, glass etc out when the source of the puncture is found.” Martin, Bikeability instructor
Repair the puncture
Rough up the area around the puncture. You can use sandpaper or sometimes there is a little metal disc with punched out sections to do this, which will usually be included in your puncture repair kit. Making the surface rough will help the patch stick to the tube.
If you are using self-adhesive patches, you just need to put them on like a sticker over the hole. If you have glue, put some on the area, stick down the patch and hold it for a few moments until the glue is dry.
Pump the inner tube up and squeeze it to make sure your repair is airtight.
Replace your inner tube and put the tyre back on
Pump the inner tube up a little so it’s got a bit of air in it but isn’t rigid. This will make it a lot easier to get it back in.
Put the valve in first. If your tube has a Presta valve – these are long and thin – it will have a nut to help hold it in place. Tuck the tube into the tyre, starting on one side of the valve and working your way around.
Start near the valve and tuck the bead of your tyre back into the rim. Be careful not to trap any of the inner tube between the bead and the rim, or you could puncture it again.
Work your way around the wheel, pushing the tyre back onto the rim with your thumbs. A rocking motion back and forth can help. If your tyre is stiff and you find this difficult, try using your tyre levers to help, but again be careful not to catch the inner tube and damage it.
Time to pump it up and put the wheel back on your cycle
“If it’s got a rotation arrow, make sure that you put the wheel on the right way round!” Mark, Bikeability instructor
Make sure you put your wheel on the right way, so the tread works properly. Some tyres have an arrow on them, so it’s easier to see which way it should go back on.
Pump your tyre up and check it’s sitting on the rim properly – there shouldn’t be any bulges and it should look even all the way around.
Pump your tyre up the right pressure – this should be written on the tyre. Too much air can make the inner tube explode and too little can make it much harder to ride.
Once the tyre is fully inflated, put the wheel back on your bike. Tighten up the quick release or bolts and make sure the rim brake is tightened too if you have one. Spin the wheel to check it’s fitted correctly – it shouldn’t wobble as it spins. Check your brakes are working and the gears are on the right cog.
You’re ready to go! Congratulations, you’ve fixed a puncture! We’ll leave you with one last top tip from one of our instructors.
“Don’t mention the P word. If you do, it’s bound to happen!” Simon, Bikeability instructor
Find out more about our training here, including bike fix sessions.